www.joemadart.com/darksiders2 (v1.2.0)
Ulkhror twintter page
QUESTS
MISC
WEAPONS & ARMORS
Axes
Maces
Glaives
Scythes
Sticks and stones (Power)
As you enter The Fjord for the first time, go West to meet Blackroot. He will gives you the side quest "Sticks and stones" and a special stone named the Lure Stone.
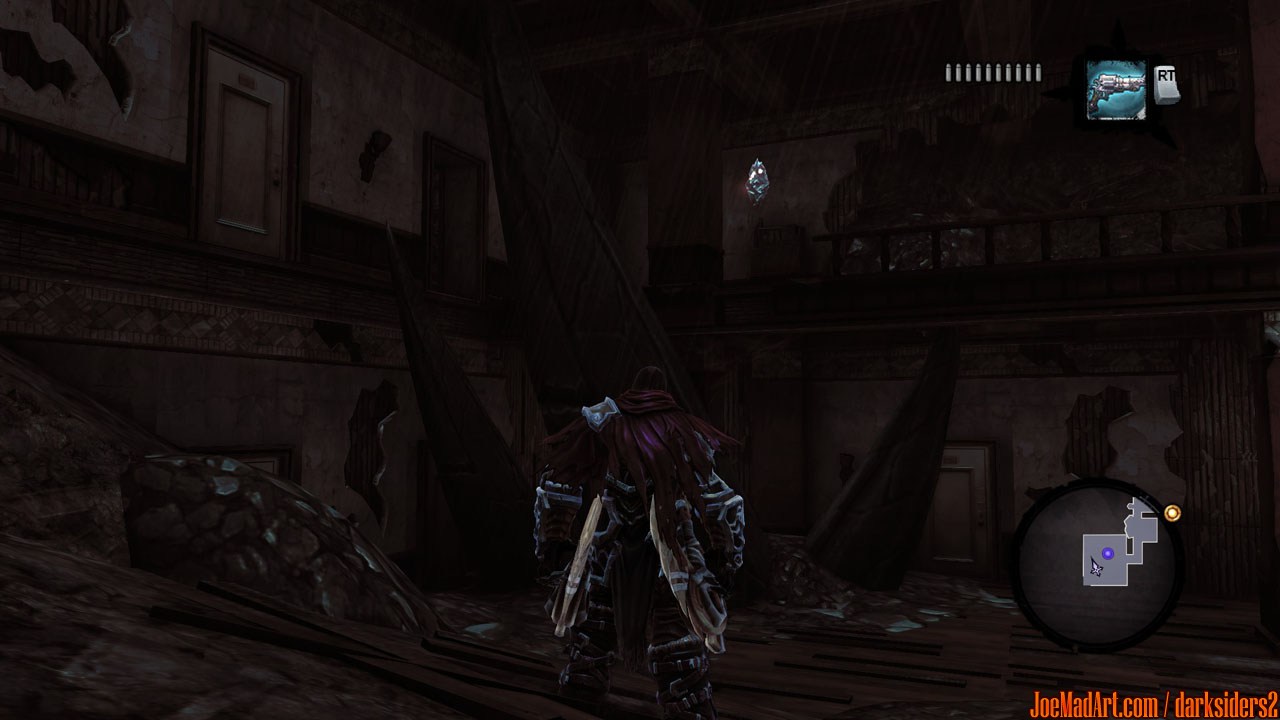
With it, Death can now harvest the stonebites scattered in all the realms... by shooting them with Redemption.
From now on, each time you gather 3 stones of any type (Mystics (blue), Power (red), Resistance (yellow)), you can bring them back to Blackroot and exchange them for a boost to one attribute.

Reward on completion (All the stones): unique Guillotine scythes

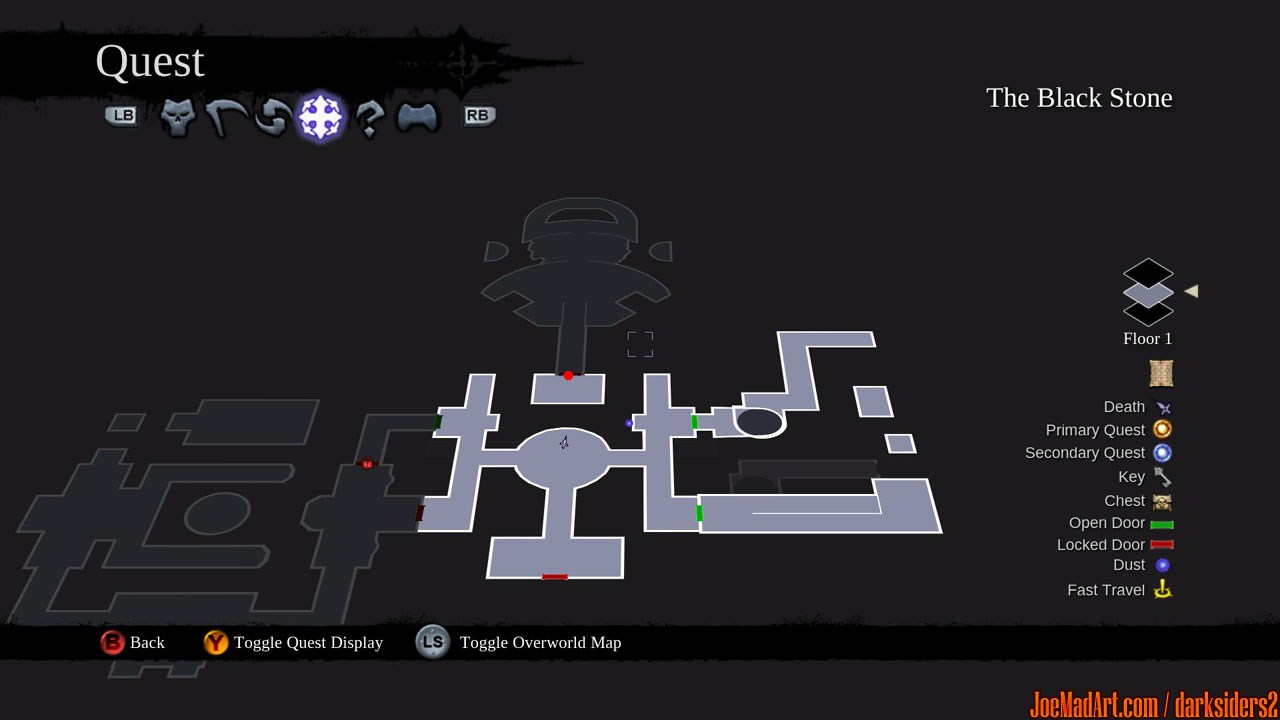
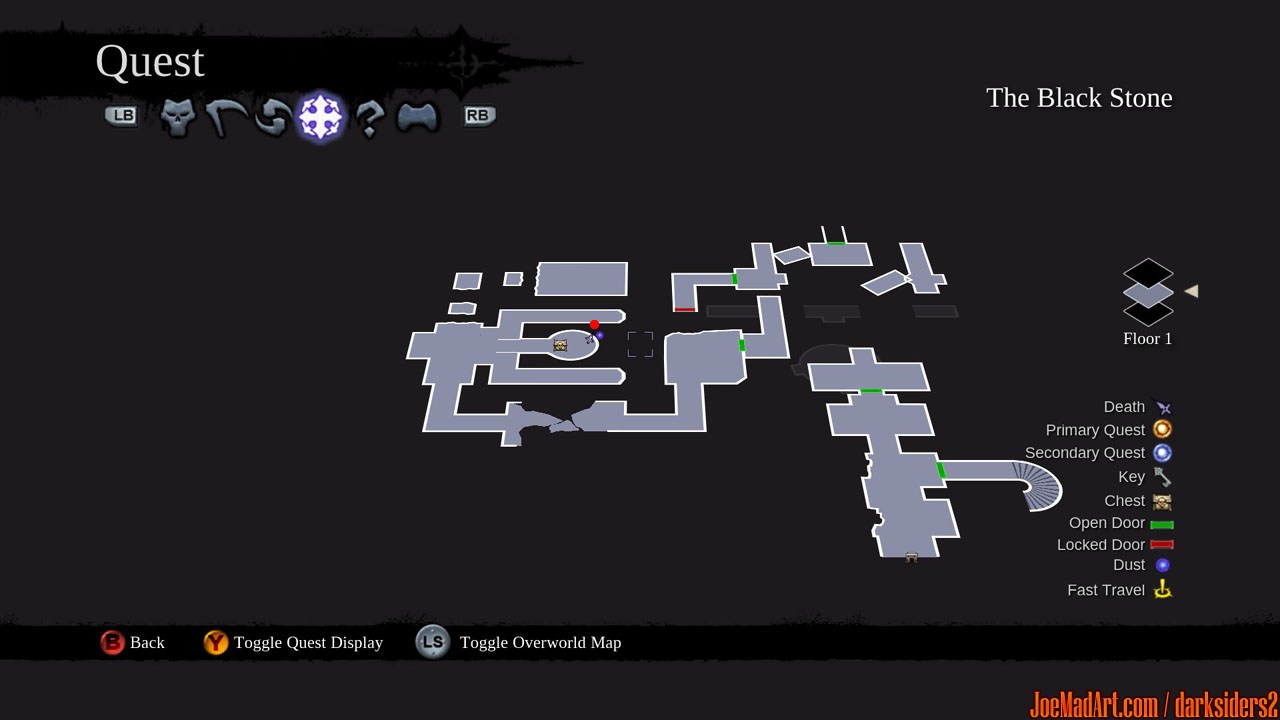
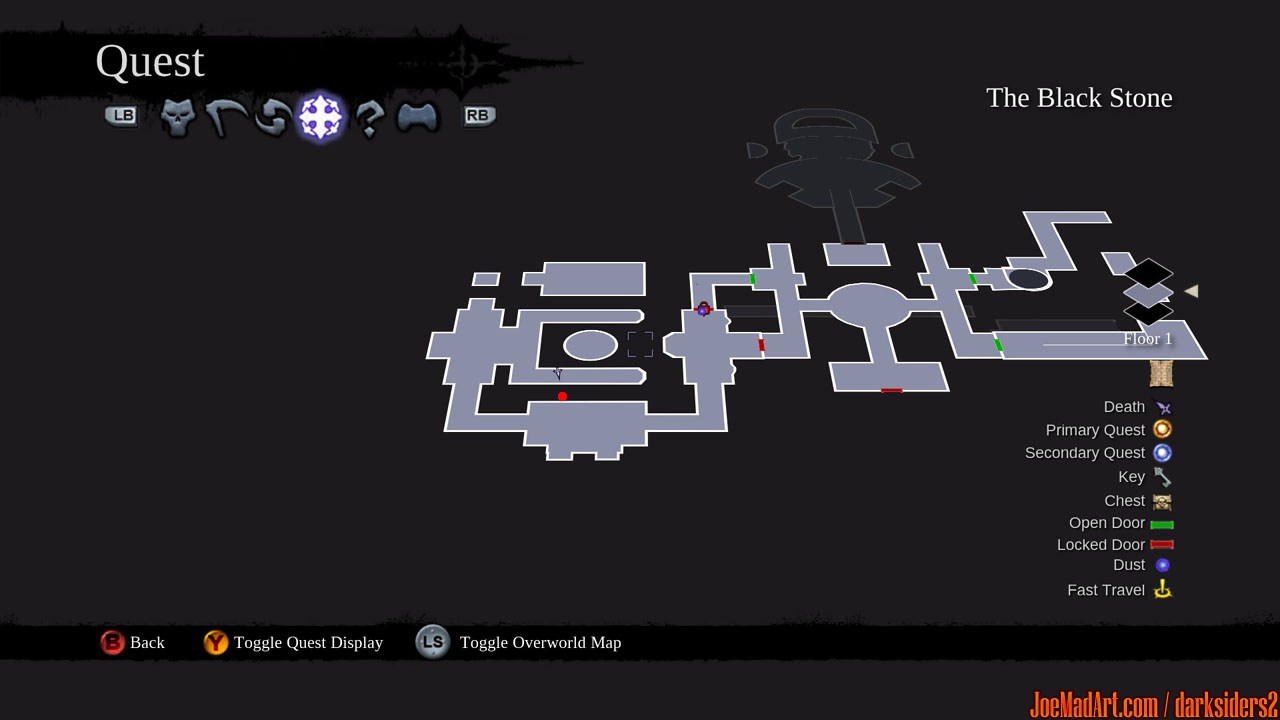
Here is below the locations of all the stones:
- Stones of Mystics × 34
- Stones of Power × 25
- Stones of Resistance × 10

See below for all the possible combinations of stones and the boost associated:
1 stone of mystics1 stone of mystics1 stone of mystics: arcane +5
1 stone of power1 stone of power1 stone of power: strength +5
1 stone of resistance1 stone of resistance1 stone of resistance: resistance +20
1 stone of mystics1 stone of mystics1 stone of power: arcane critical chance +2%
1 stone of mystics1 stone of mystics1 stone of resistance: arcane critical damage +10%
1 stone of power1 stone of power1 stone of mystics: critical chance +2%
1 stone of power1 stone of power1 stone of resistance: critical damage +10%
1 stone of resistance1 stone of resistance1 stone of mystics: wrath +20
1 stone of resistance1 stone of resistance1 stone of power: defense +20
1 stone of mystics1 stone of power1 stone of resistance: health +30

Stones of Power × 25
#1The Charred Pass: in a well
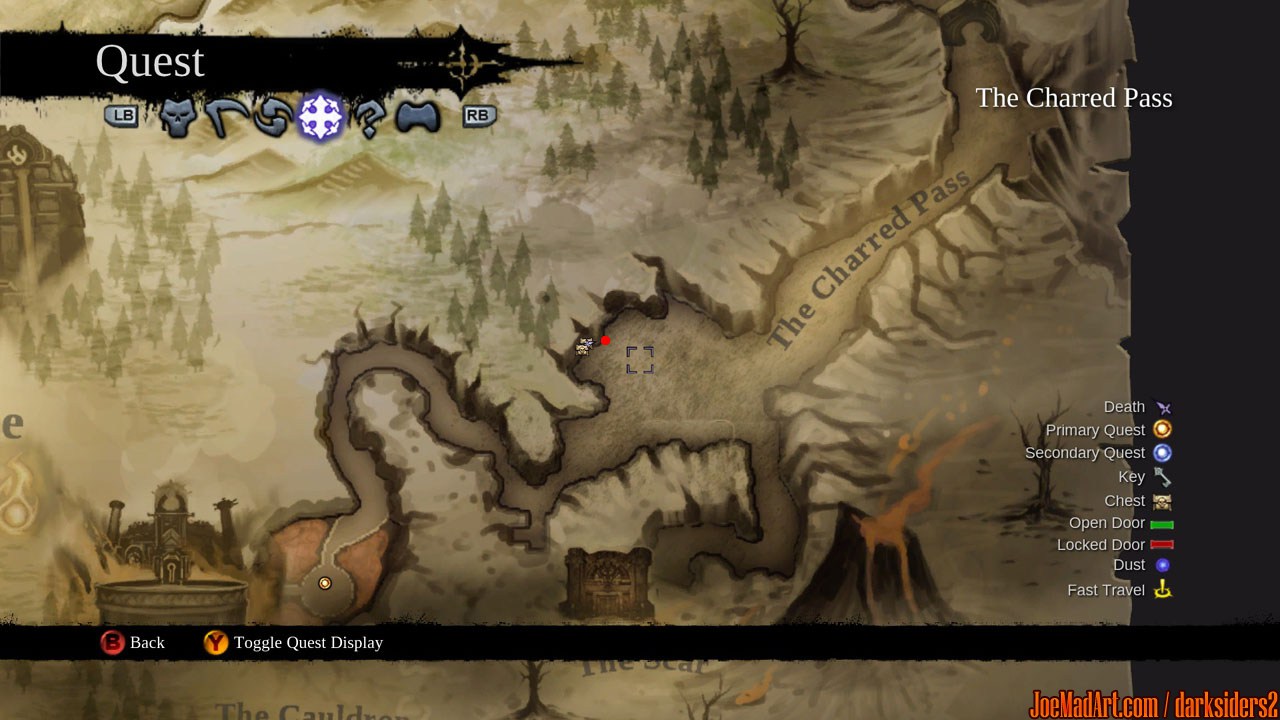
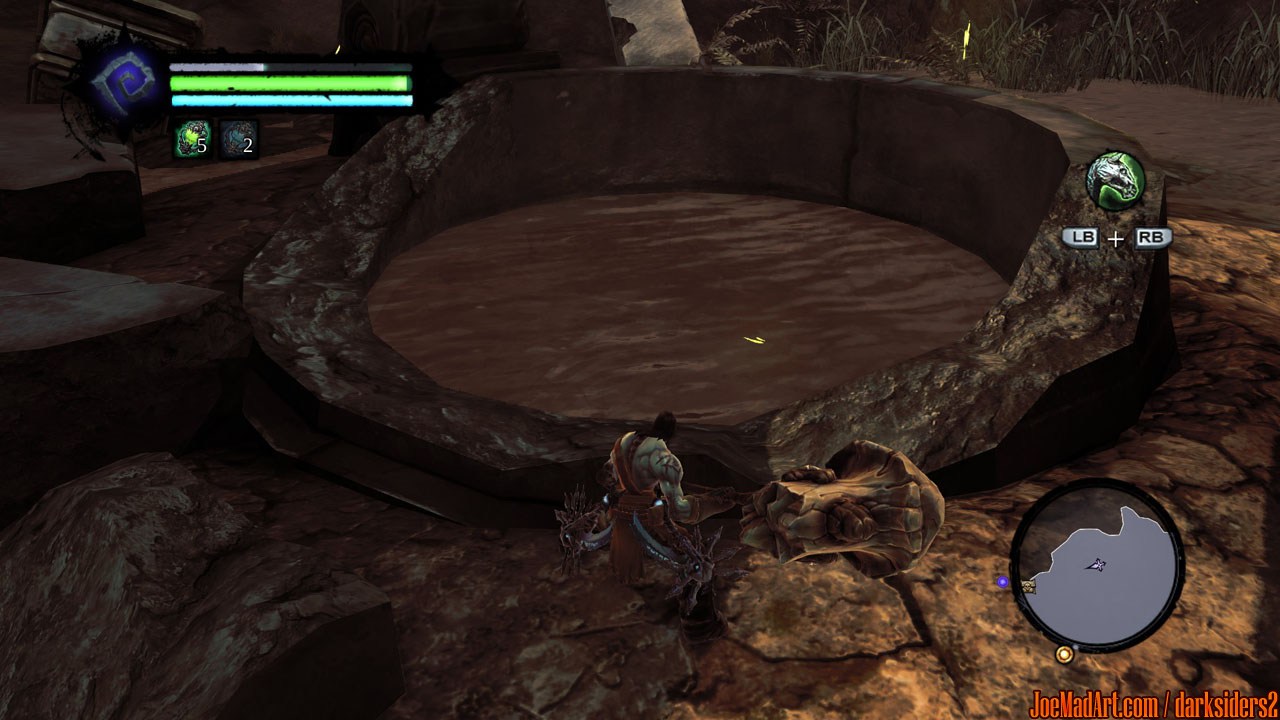
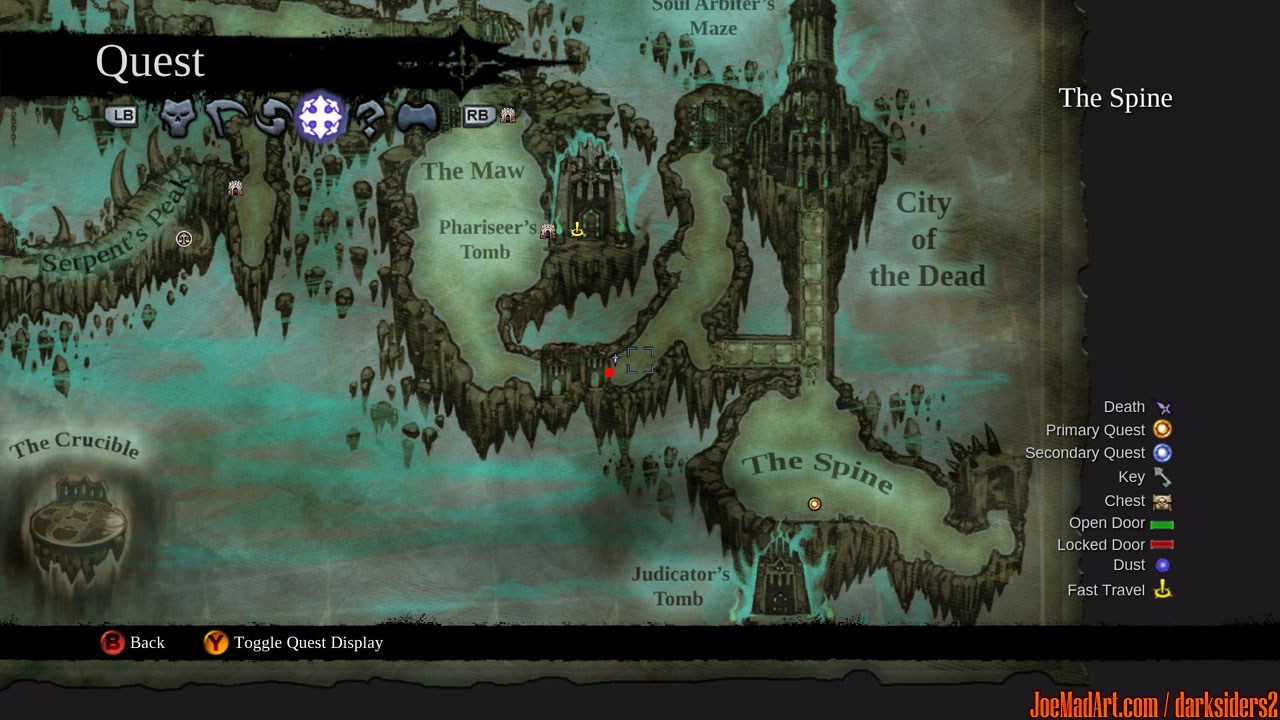
You will find a well not far from the entrance of the The Charred Pass. Dive into it and search for a cave.
#2The Fjord: above the entrance of the East keep
#3The Lost Temple: on a broken wall in a small room before the boss
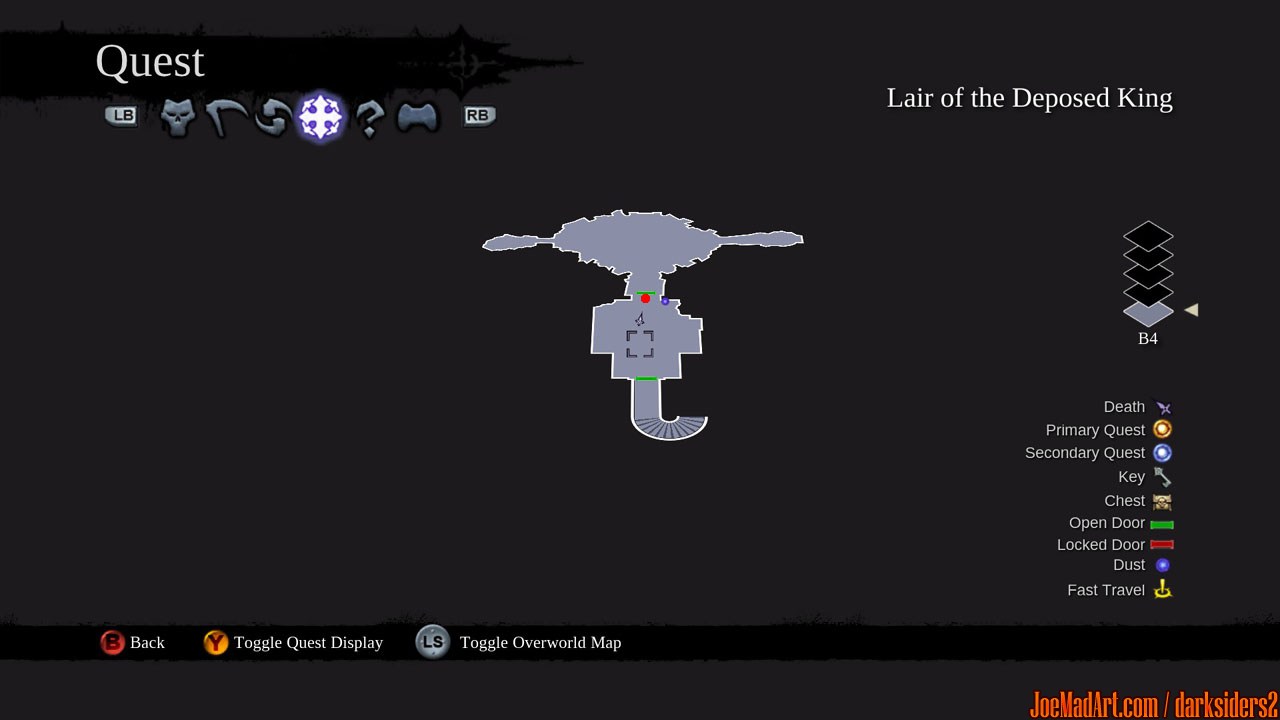
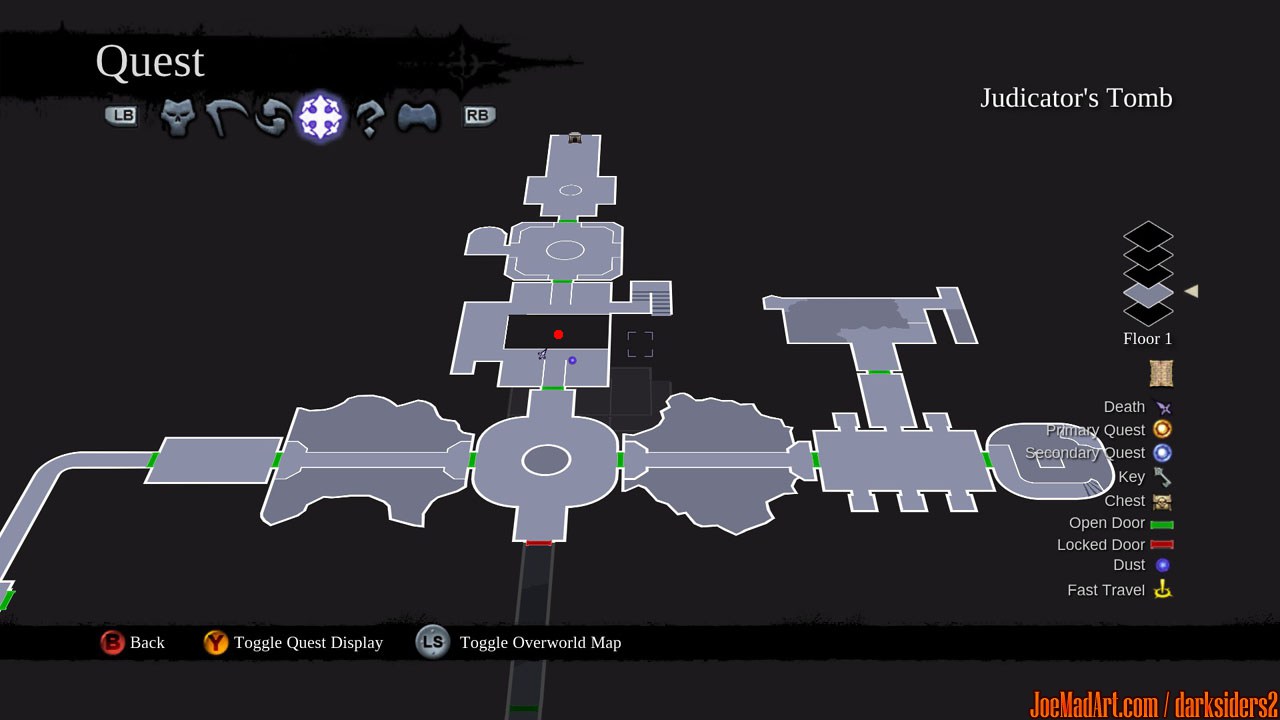
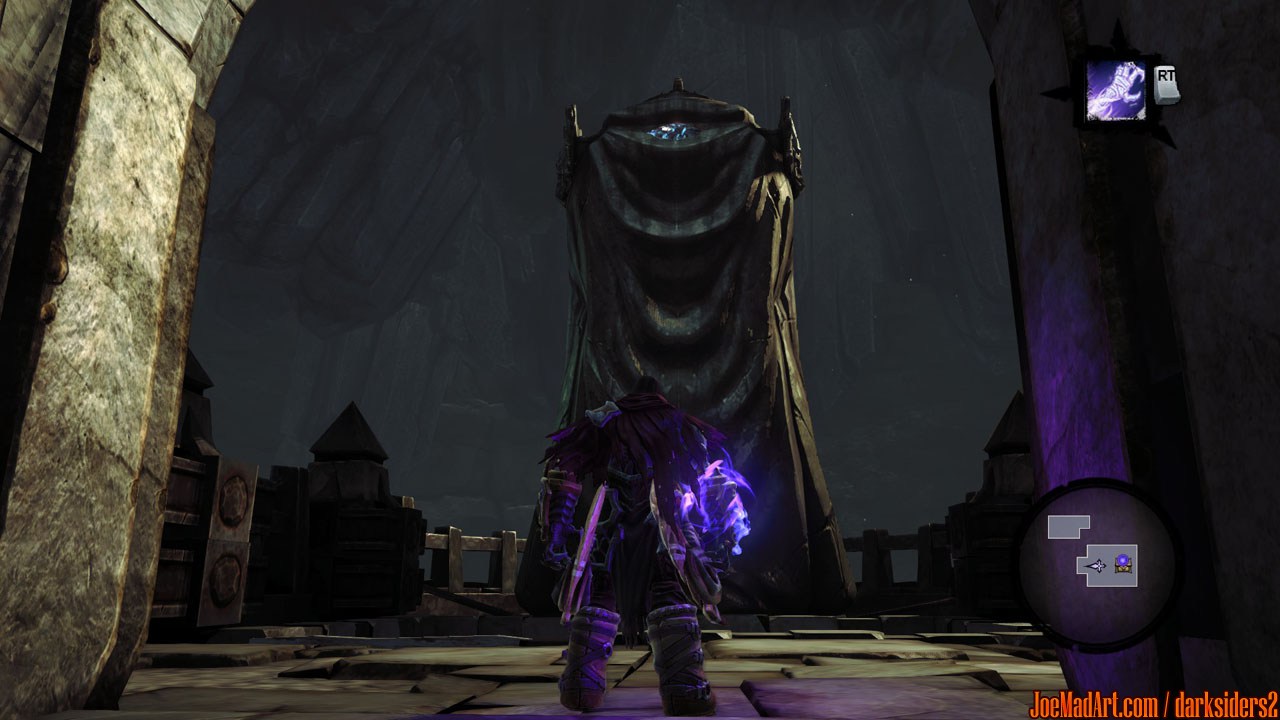
You will have to go there to free an orb and use it to open the next door. Don't forget to take the page before leaving.
#4The Weeping Crag: in the room of the boss GoreWood
#5The Lair of the Deposed King: above the door of the Death Tomb II
#6Mistmount: Northwest ruin
On the left of the portal in the middle of the room
#7The Guilded Arena: on the ceiling in a nook
On your way out after getting the first Animus Stone.
#8Phariseer's Tomb: floor 3 on the head of a large statue
#9The Spine: on a ledge above the exit
#10The Spine: on a wall in the East tower
#11Judicator's Tomb: North wing (Entrance), under a suspended cage
#12Sentinel's Gaze: 1st floor, on the back of the statue
Near the entrance of Boneriven dungeon.
#13The City of the Dead: 2nd floor, on a wall in a dead end
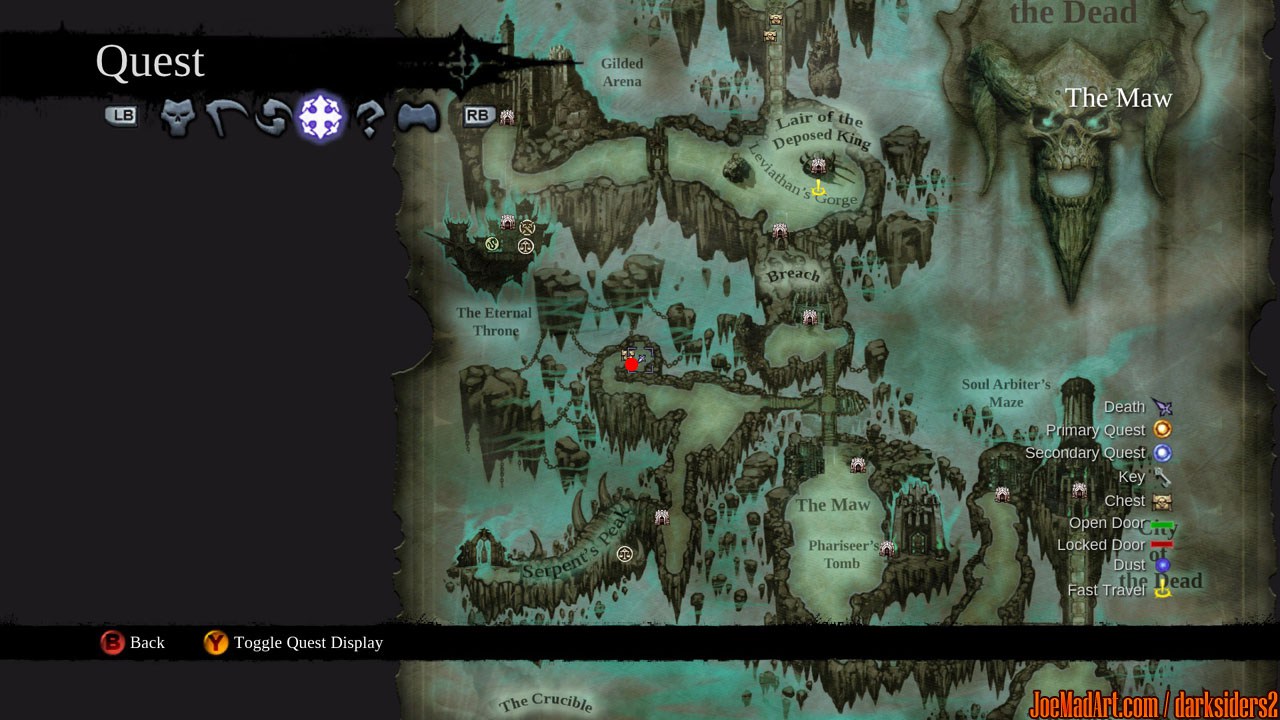
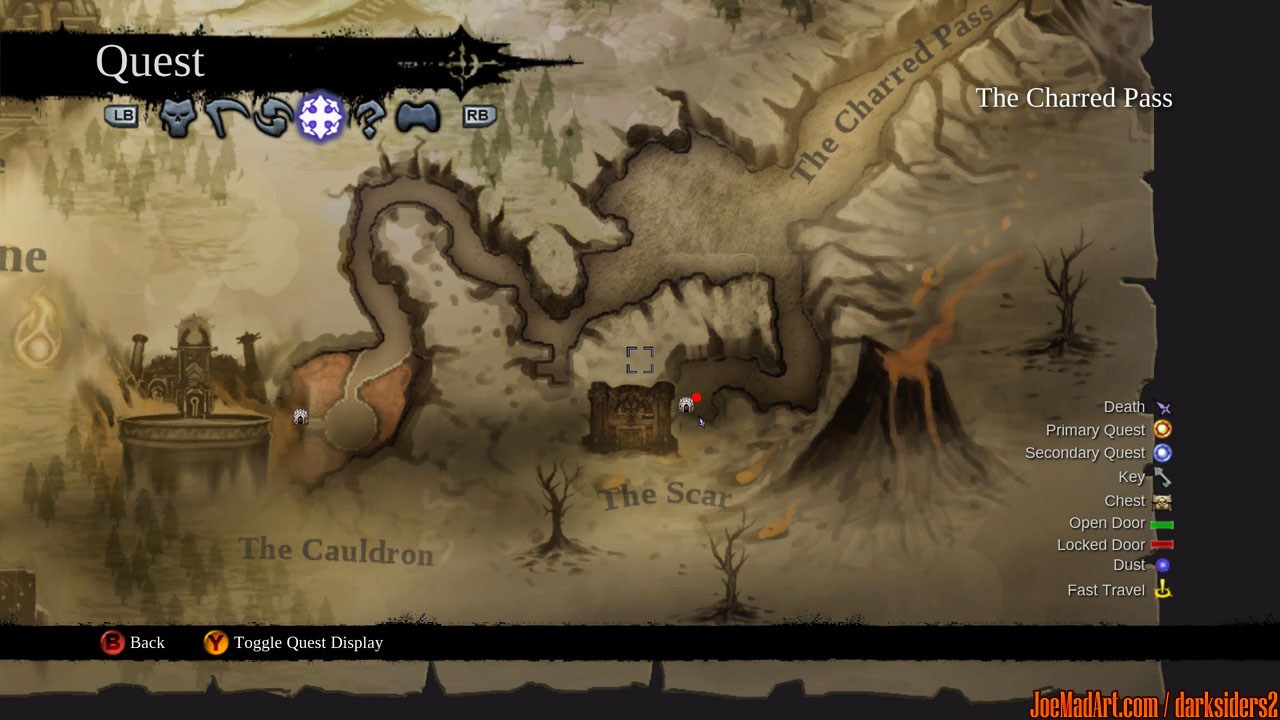
You will have to use your Soul Splitter ability to access this area.
#14The Crystal Spire: 1st floor, on a statue
#15The Charred Pass: in the broken pipe above the entrance of The Scar
#16Earth: on a the ceiling of a dead end tunnel
#17Earth: on a wall in the hotel
#18The Ivory Citadel: On the chest of the statue in the center of the citadel
#19The Ivory Citadel: above a portal in the North courtyard
#20The Black Stone forteress: on a female demon statue in the main chamber
(Past time)
#21The Black Stone forteress: West wing, on the wall in the North
(Present time)
#22The Black Stone forteress: West wing, on the wall in the South
(Past time)
#23Shadow's Edge: in the Death Tomb IV, above the exit
#24Shadow's Edge: in the Death Tomb IV, on a pike on the ceiling
#25The Spine: just up on your left as you enter the Soul Arbiter's Maze


TOP
All the trademarks and copyrights presented on this website / blog are the property of their respective owners.
Website designed and developed by @Ulkhror mail: ulkhror@joemadart.com.